Finishing Ideas for Handcrafts
Ornament Finishing 3
3 Comments
Sewn Tuck Style Fabric Ornament
What you need:
Stitched design
Scraps of coordinating fabric
Small amount of batting (wadding)
Short piece of ribbon (for hanger)
Equipment:
Scissors (sharp, please!)
Sewing Machine
Coordinating sewing thread
Cut four squares of fabric – mine are 4” x 4″ (for this rather small snowflake design) 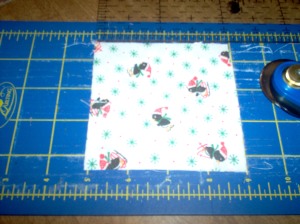 step 01
An example using red and green fabric – red is the outside and green is the inside. 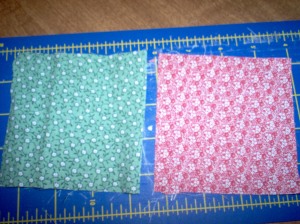 step 1A
Mark a circle in the center on the wrong side of one square – you can see my very scientific method of marking a precisely sized and placed circle! 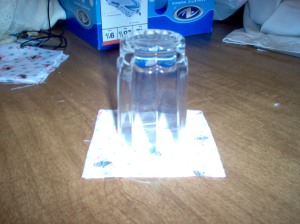 Step 02
Sew around the circle – I used red thread so the stitching line would show for the photo – normally I would use a thread that matched the fabric. 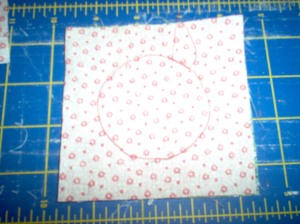 Step 3A
Sewn circle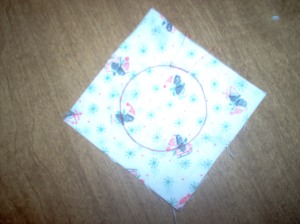
Trim the circle out about a 1/4″ seam and notch – be careful not to cut your stitching. 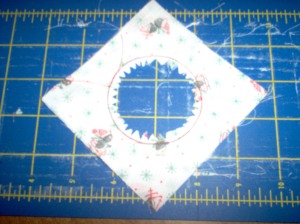 Step 04
Cutting out the circle. 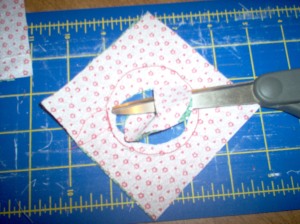 Step 4A
The circle cut out and notched. 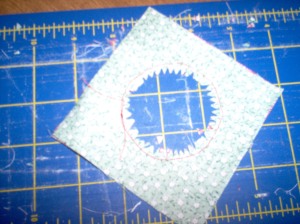 Step 4B
Preparing to turn the top layer thru the circle. 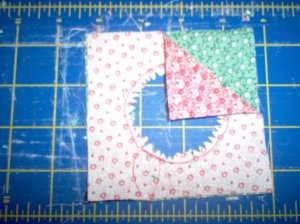 Step 5A
Turn the top layer thru the circle and match the corners. Pin them. When you have matched all four corners, the circle should lay flat.
The first corner pulled thru the circle. 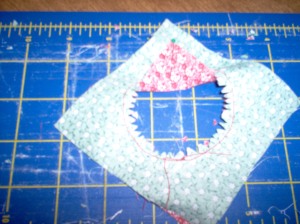 Step 5B
The first corner turned and pinned; preparing to turn the second corner. 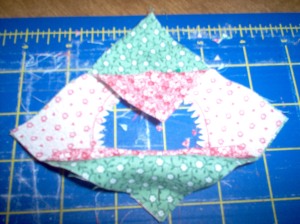 Step 5C
The second corner turned and pinned. 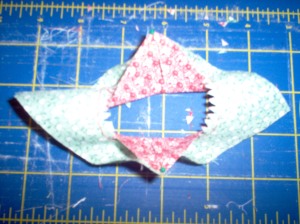 Step 5D
One more corner to go.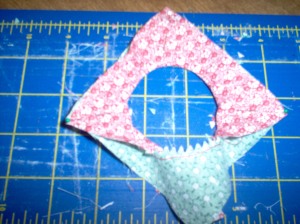 Step 5E
Turning the last corner. 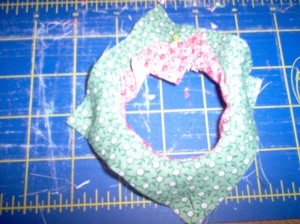 Step 5F
And here it is, all turned. 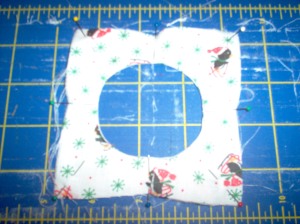 Step 06
All turned thru and pinned! 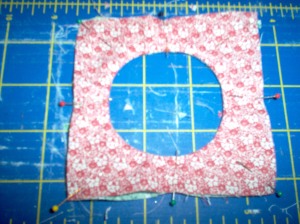 Step 6A
The other side of the front piece. 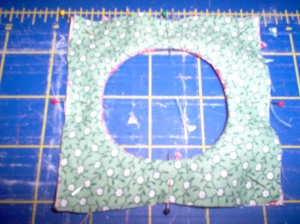 Step 6B
Cut two pieces of batting (my British friends would say wadding) and use the same scientific method to mark a circle in the center of one of them. Cut out the circle from the center. 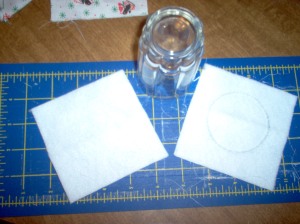 Step 07
Insert the batting between the two layers – one for the circle piece, the other for the backing. 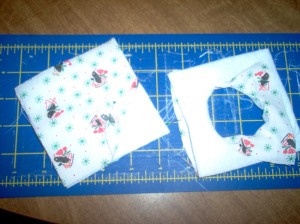 Step 08
Showing the order of the layers – batting between the two layers of the back pieces and batting between the front pieces. 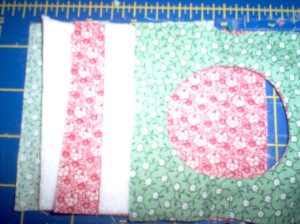 Step 8A
I wanted a hanger in the corner, and used a 1/4″ grosgrain ribbon inserted between the circle piece and the backing piece. 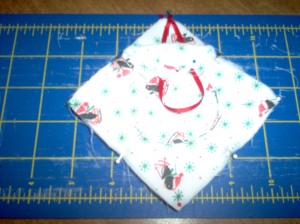 Step 09
Sew all around the four sides with a 1/4″ seam – you are going to turn this thru the center circle, so you don’t have to leave any side not sewn. Trim the corners and turn. 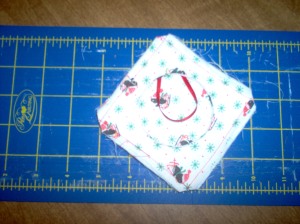 Step 10
Trim your stitched piece, if needed.  Step 11 b
Tuck the stitched piece into the frame (I use crochet hooks a lot for this sort of thing – the end is pointy but not sharp). 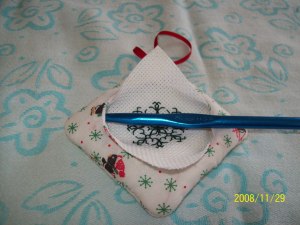 Step 11 c
Ta-Da! 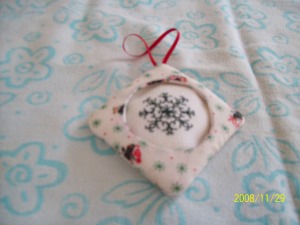 Step 11 d
Things I learned:
A. This took about 45 minutes to cut out and assemble – it honestly took longer to upload all the photos than it did to make it. I expect the next ones will go faster, because I won’t be stopping to photograph each step – lol!
B. Trim the batting squares 3/8″ smaller than the fabric squares so the seams won’t be so thick – I sewed right thru the batting, and it made it thick on the edges.
C. To make the center puffier, insert a circle of batting behind the insert.
D. It would probably be a good idea to make the lining squares in a solid color to match whatever you are going to insert – you can see the print if you look closely at the center.
This ornament can be made for any holiday – or no holiday at all! The center shape doesn’t have to be a circle (nor does the outer shape, for that matter!).
I wouldn’t recommend a very complex shape. Try a triangle, square, oval, or maybe a stocking shape, a star or a gingerbread shape. Cookie cutters and coloring books can give you some good ideas. Here are some simple shapes (enlarge or reduce as needed) to get you started: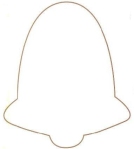
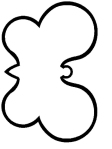
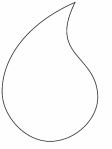
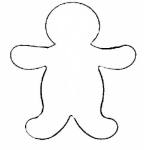
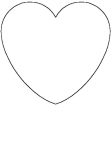
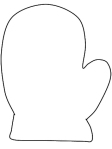
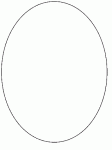

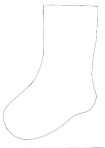

Please, if you make an ornament using this idea – send me a picture – I’d love to see what you do with it.