Finishing Ideas for Handcrafts
Floss Wallet | September 20, 2009
I’ve been working on this idea for a while. I love the little zip-loc bags to keep my floss in, and I normally use a ring to keep all the little baggies for a project together. But what’s the use of being a cross-stitcher if you can’t make a little useful item, right?
TIP: When combining cross stitch and fabric – pick your fabric first – then choose your floss. It’s much easier to find the right floss colors to use with a fabric – not so easy to find fabric to match an existing cross stitched project.
The chart I used for this project is Petit Abécédaire aux Fleurs.
1. Cut two pieces of fabric 7 x 11 inches for the inside and outside of the Floss Wallet. 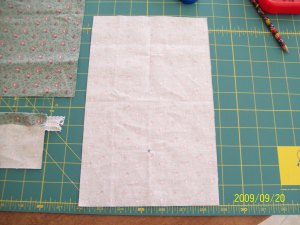
2. Cut one piece of fabric 7 x 6 inches (for frame lining).
3. Cut two pieces of fabric 4 x 7 inches for two pockets. Fold under a ½ inch hem on each pocket, apply lace trim to the right side, if desired. 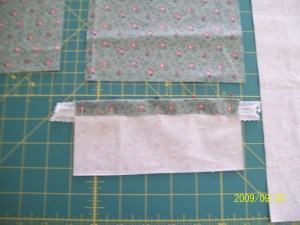
4. Top stitch the lace in place, catching the hem as you go. 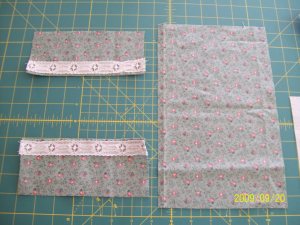
5. Pin the pockets to either end of the lining (inside) fabric, right sides up. If you want to make a divided pocket, fold the lining in half lengthwise and mark the center. 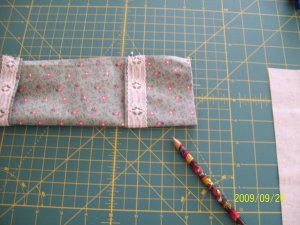
6. Top stitch the center line (the pencil is pointing to the top stitching). 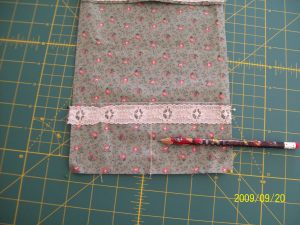
7. Find the center of the 7 x 6 inch piece of fabric and mark it on the wrong side. 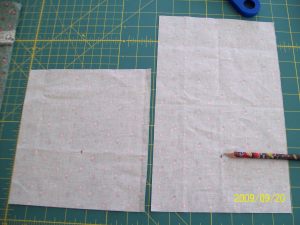
8. Measure the cross stitched piece to determine the size opening you need. 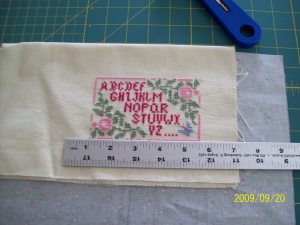
9. Mark the opening size on the wrong side of the 7 x 6 inch piece of fabric, centering on your mark. I wanted to have curved corners, so I used the handle of my rotary cutter to mark curves at each corner. 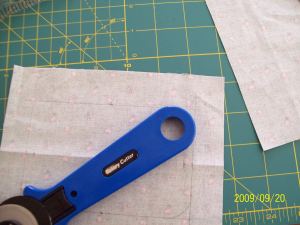
10. Lay the 7 x 6 inch fabric, right sides together, on one end of the 7 x 11 outside piece, matching the corners. Pin securely (I believe in using straight pins – they give you 300 hundred in that little box for a reason, right?). 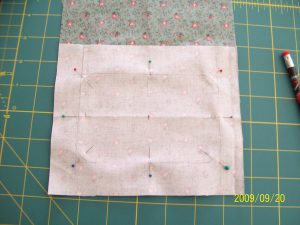
11. Stitch on the marked line. Cut out the center, leaving about ¼ inch seam allowance, and clip the inside curves nearly to the stitching. 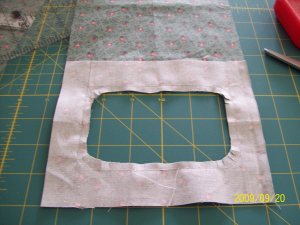
12. Turn the lining thru the center to the wrong side. Press the seam flat. Lay the opening over your stitched piece and center it in the opening. 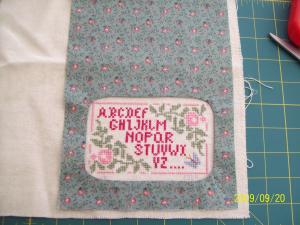
13. Trim the stitched fabric to match your fabric and pin around the edges thru all three layers. 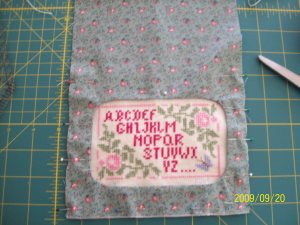
14. Forgot about cutting a tab – cut a scrap of fabric about 6 x 1-1/2 inches – fold in half lengthwise and stitch the long sides. 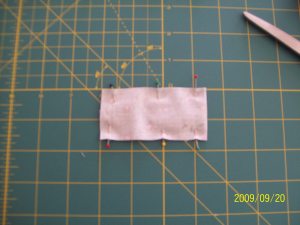
15. I again used the handle of my rotary cutter to mark a curve on the folded end of the tab and stitched along that curved line. Trim the seam and clip the curve. 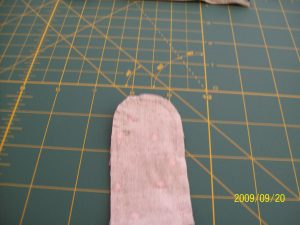 Turn the tab right side out.
16. Lay the front piece down right side up. Lay the lining piece on top of it right side down. Put the tab in between the two pieces at the center of the short end, matching the raw edges. Sew a ½ inch seam along the two long ends and across the short end where the tab is. Trim the seam and clip the corners (sorry, the photos of these steps didn’t come out – I didn’t realize my camera batteies were nearly dead.)
17. Cut two pieces of iron on quilt batting 5-¾ inches by 10 inches. Cut out four holes 1 inch in from the sides and about ½ inch from the center (to allow for grommets) . Iron the batting to each of the wrong sides. 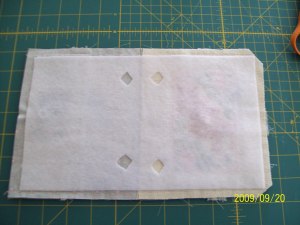
18. Be sure to use a pressing cloth to iron the batting in place. This is what happens if you get impatient and don’t use a cloth. 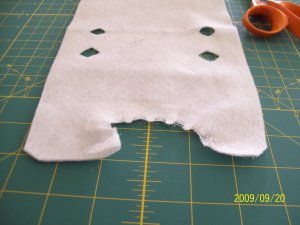
19. Turn the wallet right side out. Mark the positions of the four grommets. Don’t apply the grommets yet! 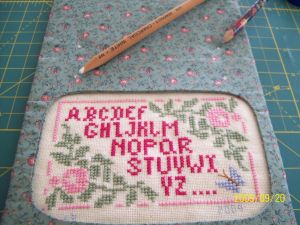
20. Cut two pieces of thin cardboard, each 6 inches by 4-1/4 inches.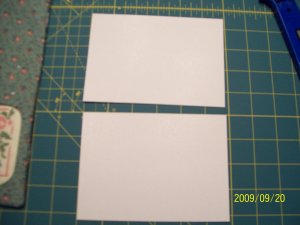
21. Slide one piece of cardboard inside the wallet between front and back batting, all the way to the end. Apply the four grommets. 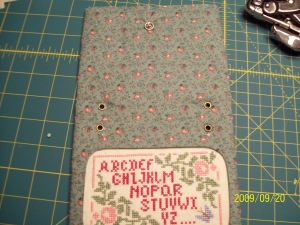 And yes, that’s a Crop-o-dile peeking in from the edge of the photo!
22. Slide the second piece of cardboard inside the wallet and push down to the grommets. 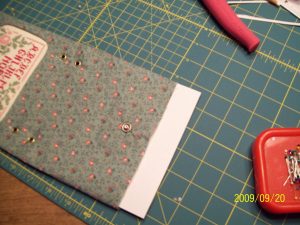
23. You may have noticed that I had applied a snap closure. Unfortunately, after I applied it, I tried it out, and it wouldn’t snap! So I had to pry off the snap, and sew on a button instead. 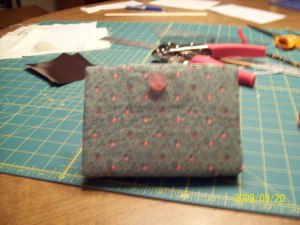 I made a matching button hole in the tab.
Fold under the raw edges on the open end 1/4 inch, and whipstitch it closed. I used matching floss. (You can barely see the pins holding the opening closed in the above photo).
24. Here’s the inside of the wallet, with a packet of needles in one pocket and my scissors in the other. 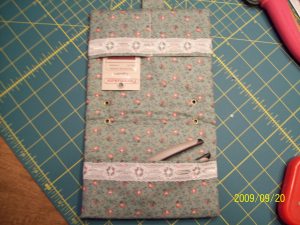
25. And the inside with some floss baggies on the rings (which went thru the grommets). These are the flosses I’m using for a current project (shh – it’s a secret!) 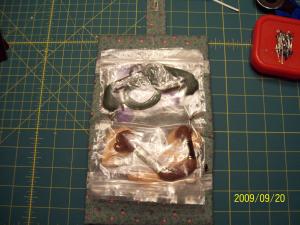
26. The back of the outside, showing the tab buttoned. 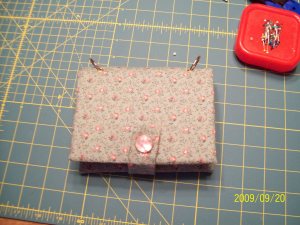
27. And the front. 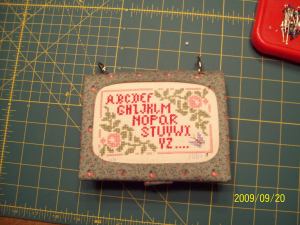
28. Here it is standing up, so you can see some of my mess scattered around the table – lol! 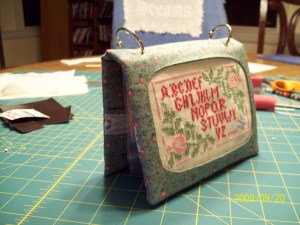
And here is the chart I’m planning to use for my next wallet. 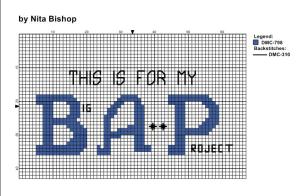 If you’d like to use this chart, feel free to take a copy for your personal use – and please send me a photo of your project!
Your comments, questions and suggestions are welcome.
Thanks for visiting today!
2 Comments »
Great idea! It will keep the bags from getting as much wear. I’d make one, but I’ve switched to project boxes recently.
Comment by mcsewing — September 22, 2009 @ 9:22 am
Hi Nita
I like so much this tutorial!! Thanks so much!!!
Maria del Valle
You are very welcome!
Nita
Comment by Alarttex — September 25, 2009 @ 6:23 am